Cooperation between FlashAir IoT Hub and IFTTT(Trigger)
Latest update: September 2017
Overview
This tutorial will explain the IFTTT linkage function of FlashAir IoT Hub.
First IFTTT is described. If you are already familiar with IFTTT, you can skip it.
What is IFTTT
IFTTT is an abbreviation for IF This Then That, a web service that can combine various web services.
With IFTTT, you can make a combination of the Web service (this) that will become the trigger (then) and what to do with the Web service (that) and publish the combination. For example, using IFTTT you can create the following combinations.
- Tweet to Twitter, post the same to Facebook.
- Transfer the image uploaded to Instagram to Dropbox as well.
- Send the value of temperature sensor connected to Raspberry PI by e-mail.
IFTTT can be combined with your own devices as long as it can send and receive HTTP requests in addition to Web services. It's compatible with FlashAir that can handle HTTP requests.
To use IFTTT you need to register an account. To try this tutorial, please make an account of IFTTT with your email address or log in with your Google account or Facebook account.
The following terms are used in IFTTT. I will explain in detail how to use it in this tutorial.
- trigger
- A Web service that triggered it. For example, when using Webhooks, call action for each access to the specified URL.
- action
- Process that trigger calls. For example, if you use e-mail, you send it by e-mail every time there is a notification from trigger.
- Applet
- A combination of trigger and action. You can also publish your own Applet on IFTTT's site.
- Webhooks
- One of the services of IFTTT which uses Webhook (a mechanism and way of thinking to notify an event by an HTTP request) and also transmits and receives trigger and action even for devices other than Web services.
- Event Name
- A name to identify the Applet in Webhooks.
- key
- An ID for identifying a user in the Webhooks Applet.
Cooperation between FlashAir IoT Hub and IFTTT
FlashAir IoT Hub makes it easy to link with IFTTT. This tutorial introduces the following IFTTT linkage function.
IFTTT linkage of measured values
By sending measured values from FlashAir, you can notify other web services via IFTTT.
In addition, you can specify the condition of the value to be notified (when it becomes less than the specified numerical value or less) and the timing to notify (how long you want to re-notify). By setting conditions and timing, for example, when the temperature sensor value sent by FlashAir becomes 30 ℃ or more, you can notify by email once a day.
Let's try to set the value to be sent by e-mail once a minute when the measured value is 30 or more in cooperation with IFTTT as an example. FlashAir IoT Hub and IFTTT make the following settings.
-
FlashAir IoT Hub
Make a Webhook to notify when the measured value is 30 or more. -
IFTTT
When notified by Webhook, make an Applet send an email.
Confirm key
IFTTT can send and receive notifications by using Webhooks.
FlashAir IoT Hub allows you to set up a Webhook that supports IFTTT.
To set up Webhook you need the key value to identify your account on IFTTT. Please confirm with the following procedure.
Log in to IFTTT, open the Webhooks page and click "Documentation".
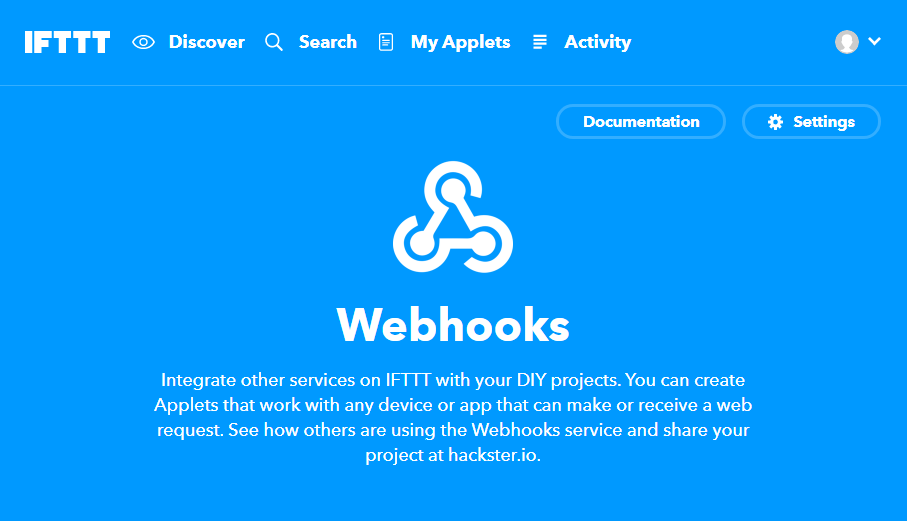
Please note the value of the key displayed on the page. It is used for making Webhook.

Make a Webhook (measured value)
Configure Webhook on FlashAir IoT Hub.
Trigger of FlashAir IoT Hub > Click "Set WebHook" at the measurement value.

Enter the following values in the displayed dialog.
-
event
Please enter any name that uniquely identifies Webhook. -
key
Please copy and paste the value of the confirmed key with confirm key and input it. -
Notification
-
Do not re-notify until the next time elapses
The time from notification once to the next notification (default value: 1 minute). Even if an event to notify continuously (measurement value, image upload, etc.) occurs, it will not be notified until this time after notifying once.
-
Do not re-notify until the next time elapses
-
Conditions
-
Measured value
The name of the measurement value linked to IFTTT. Please select one of five measurement values. -
Comparison condition
Condition to notify measurement value. Please select whether it is larger or smaller than the threshold value. -
Threshold
Numeric value to be compared with measured value. Please enter condition value in combination with comparison condition.
-
Measured value

As an example, "1 minute" to not re-notify until the next time elapses, "value 1 (1st measurement value)" to the measurement value, "> (greater than the threshold value) " as the comparison condition, please input "30" as the threshold value.

When you click the register button, FlashAir IoT Hub setting is complete.

Make an Applet (Measured Value)
Next, let's create an Applet that sends mail when notified from FlashAir IoT Hub on the IFTTT My Applets page.
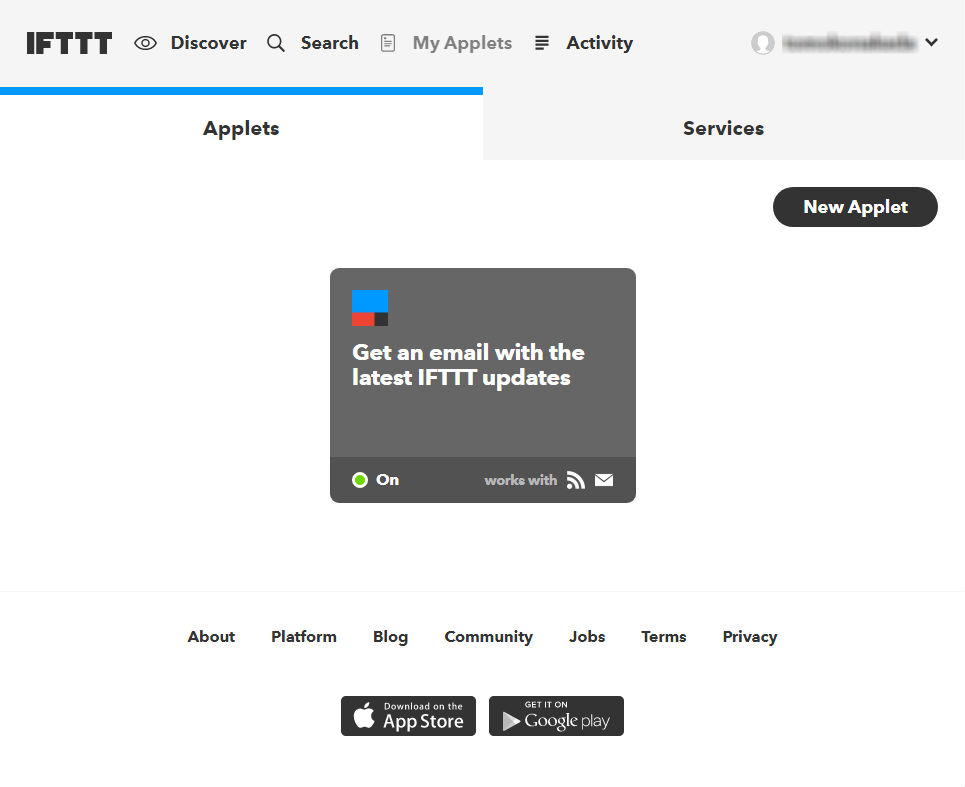
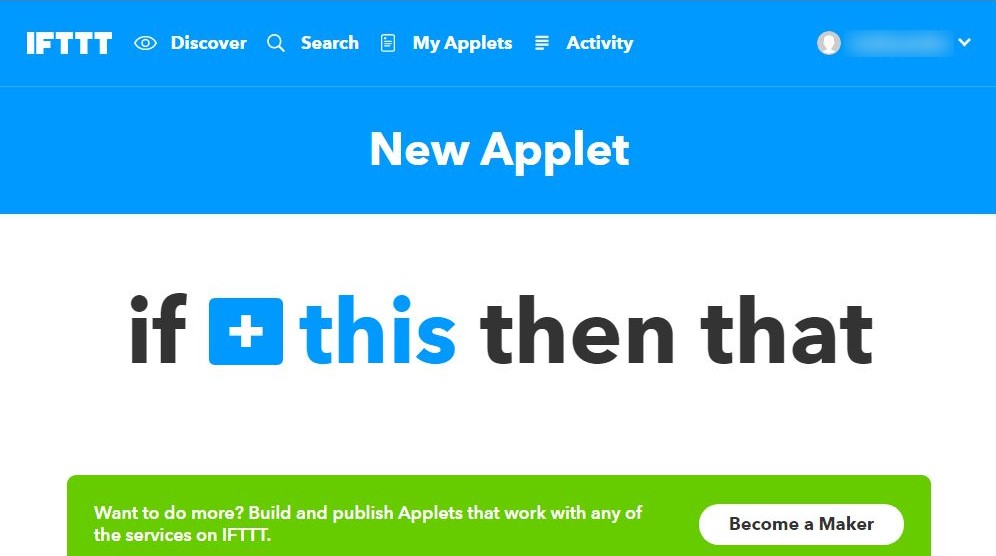
Click "New Applet" and click "this" part.
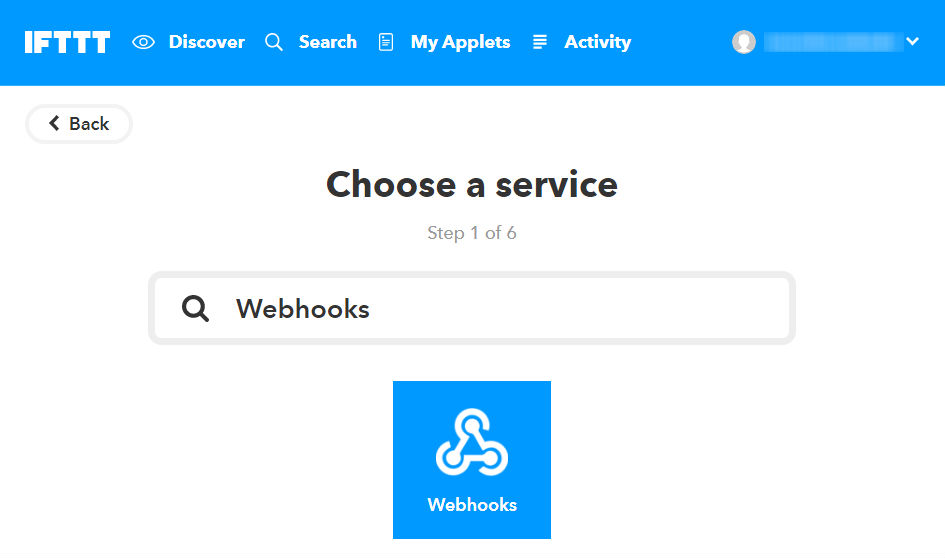
Search "Webhooks" and click the icon.
Click "Receive a web request".
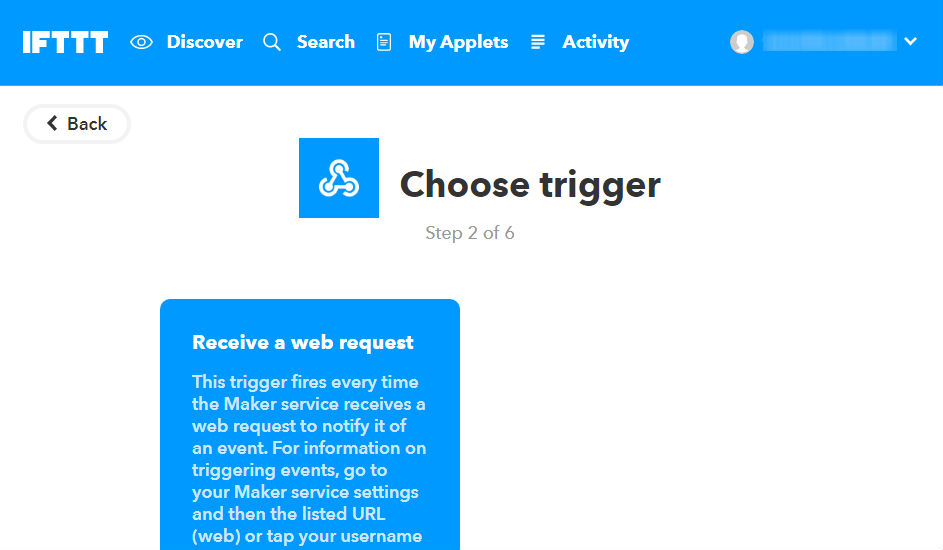
Enter Event Name to identify Webhook and click "Create trigger".
This Event Name is matched with "event" of Webhook created by FlashAir IoT Hub.
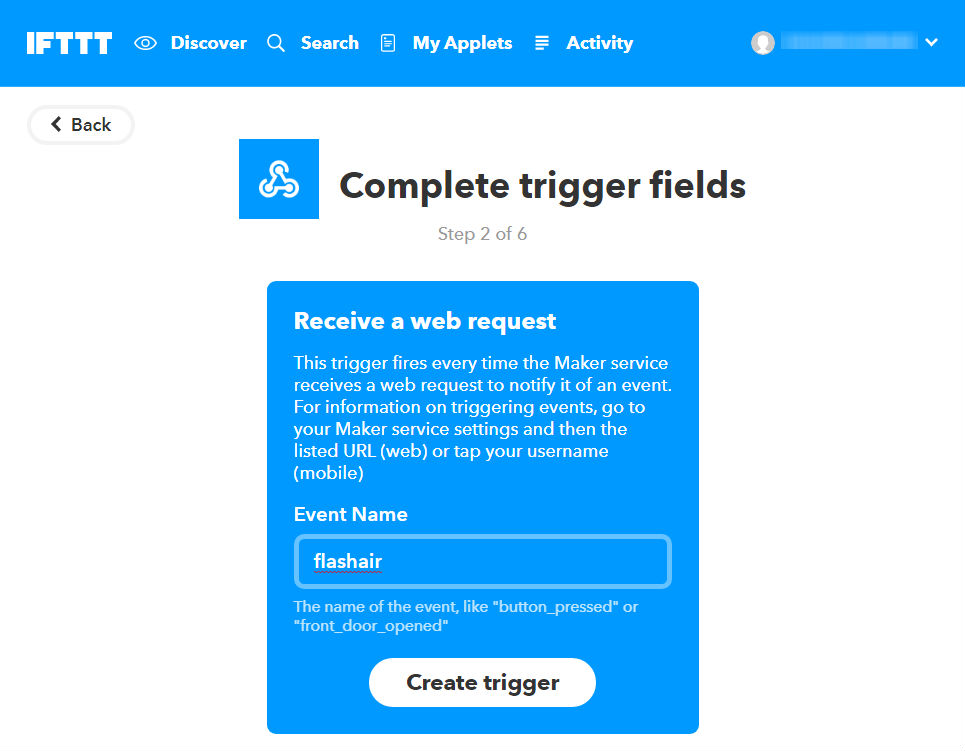
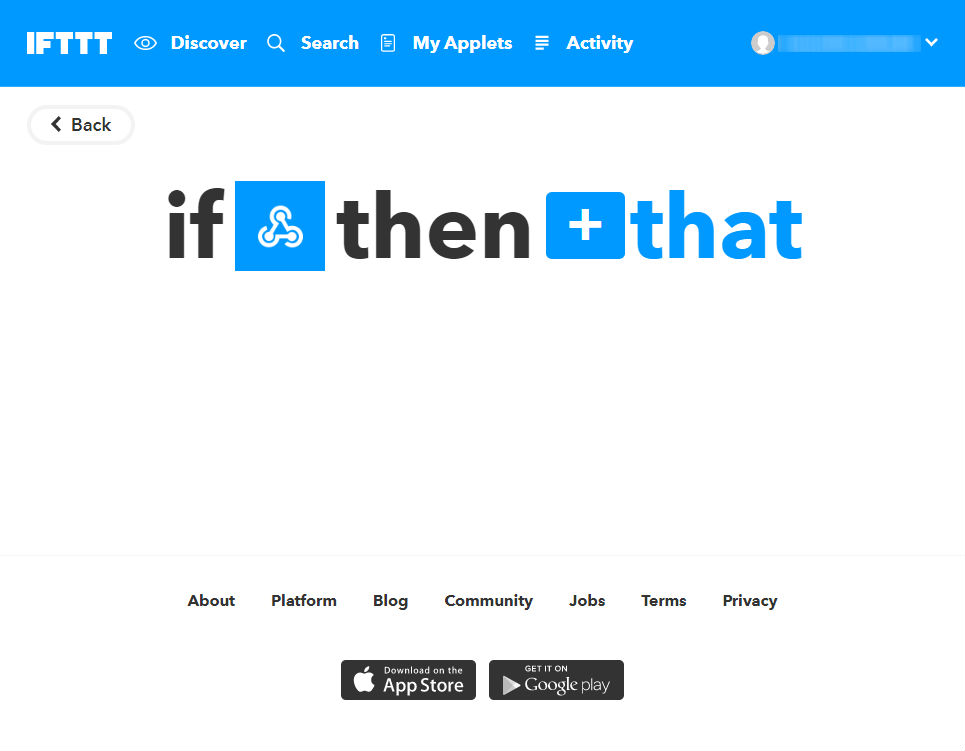
Then click "that" part.
Search "Email" and click the icon.

Click "Send me an email".

Enter the subject and body of the email to be sent, and click "Create action".

By default, the Event Name and the date and time that the trigger was called etc are entered. Mail is sent to the e-mail address specified at the time of IFTTT registration, or to the e-mail address associated with that account if linked with a Google or Facebook account.
When you click "Finish", IFTTT setting is completed.


Link measured values with IFTTT
Next, edit the sample script on FlashAir as follows, so that the measured value goes up and down between 10 and 40.
/bootscript.lua
local iothub = require("iothub")

-- iothub.startPioUpload(0x03)
-- iothub.stopPioUpload()

local cnt = 0
while(1) do
  iothub.runJob()
  iothub.addMeasurement({cnt})
  cnt = cnt + 10
  if (cnt > 40) then
    cnt = 10
  end
  sleep(10000)
  collectgarbage("collect")
end
Once you have saved the sample script in FlashAir, place FlashAir in a card reader etc. where you can connect
to the
access point and wait for a while.
It will be successful if the following kind of mail arrives.
What: flashair
When: June 1, 2017 at 10:00AM
Extra Data: , , ,

If maker Event "flashair", then send me an email at <mail address>

IFTTT
The event name set in IFTTT is written in the mail.
IFTTT linkage of images
Let's set as an example of IFTTT linkage of the image to save images in FlashAir to Google Drive via IFTTT.
※ IFTTT can be linked with Webhook only image files. Please note that uploading files other than images
will not
be notified.
FlashAir IoT Hub and IFTTT make the following settings.
-
FlashAir IoT Hub
Make a Webhook to notify when images are uploaded. -
IFTTT
When Webhook is notified of image uploading, make an Applet that saves the image in Google Drive.
Make a Webhook (image)
As with measured values, IFTTT's webhooks key value is required. Please check the value of key in advance referring to confirm key.
Let's click "Set WebHook" at the FlashAir IoT Hub file.

Enter the following values in the displayed dialog.
-
event
Please enter any name that uniquely identifies Webhook. -
key
Please copy and paste the value of the confirmed key with confirm key and input it.

When you click the register button, FlashAir IoT Hub setting is complete.

Make an Applet (Image)
Next, when the image is uploaded to FlashAir IoT Hub on the IFTTT
My Applets
page, let's make an Applet to transfer the image to Google Drive.
IFTTT's Webhooks can notify any value with the name of Value 1, Value 2, Value 3. The image Webhook
assigns the following
values.
-
value1
Image URL -
value2
Image file name -
value3
Unused
You can upload images to web services other than FlashAir IoT Hub by specifying these values for each parameter of the action web service. (The parameters are different for each Web service.)
Let's make an applet with IFTTT.
Click "New Applet" and click "this" part.

Search "Webhooks" and click the icon.

Click "Receive a web request".

Enter Event Name to identify Webhook and click "Create trigger".
This Event Name needs to be matched with "evnet" of Webhook created by FlashAir IoT Hub.

Then click "that" part.

Search "Google Drive" and click the icon.
Note: When you first create Google Applet's Applet, you need to allow access after logging in with the associated Google Account.

Click "Upload file from URL".

Enter values and click "Create action".
-
File URL
Please selectValue1(image URL) from Add ingredient. -
File name
Please selectValue2(image file name) from Add ingredient. By defaultOccurredAt(event occurrence time) is selected. -
Google Drive folder path
Please enter the path of the image save destination folder.

When you click "Finish", IFTTT setting is completed.


This completes the setting.
IFTTT link images
Edit CONFIG and let the photo uploaded to FlashAir IoT Hub when the photo is saved in FlashAir. Please refer
to
uploading images for setting.
Please note that when you try uploading images with a camera other than your main camera, the files
uploaded are
the latest files in the folder under the
DCIM folder on FlashAir.
Let's take a picture with the camera that inserted FlashAir.
※ When shooting, please go in a place where FlashAir can connect to the access point.
When you confirm that the photo was uploaded in FlashAir IoT Hub file, let's see Google Drive.

The same photo was uploaded to Google Drive.
Summary
Using FlashAir IoT Hub and IFTTT, I was able to link the data on FlashAir with the Web service.
Since IFTTTT supports various Web services besides those introduced in this tutorial, how about trying a
new combination
of FlashAir and Web service?
 FlashAir™ Developers